The easy way to make borders lie flat.
As a long arm quilter, one of the trickiest situations to deal with are borders that are wavy and don’t lie flat. They are almost impossible to quilt without leaving unsightly tucks.
To avoid this problem, you must always cut your borders to fit your quilt top. Going by the measurements on your pattern won’t help if your quilt top doesn't come out to the exact size the pattern indicates. Here is the easiest way I have found to attach borders that fit and lie flat. And you won't even need a measuring tape.
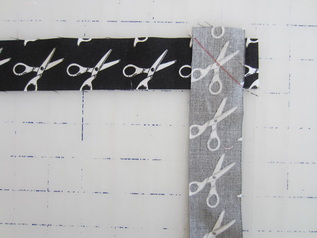
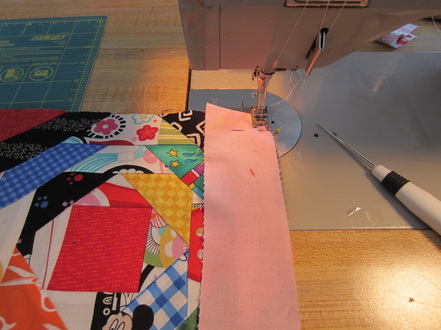
First, cut your borders the width that you desire. If necessary, piece the strip so it is a few inches longer that it needs it to be. When piecing your borders, place right sides together at a 90 degree angle and sew on the diagonal. This will make the seam less visible.
To avoid this problem, you must always cut your borders to fit your quilt top. Going by the measurements on your pattern won’t help if your quilt top doesn't come out to the exact size the pattern indicates. Here is the easiest way I have found to attach borders that fit and lie flat. And you won't even need a measuring tape.
First, cut your borders the width that you desire. If necessary, piece the strip so it is a few inches longer that it needs it to be. When piecing your borders, place right sides together at a 90 degree angle and sew on the diagonal. This will make the seam less visible.
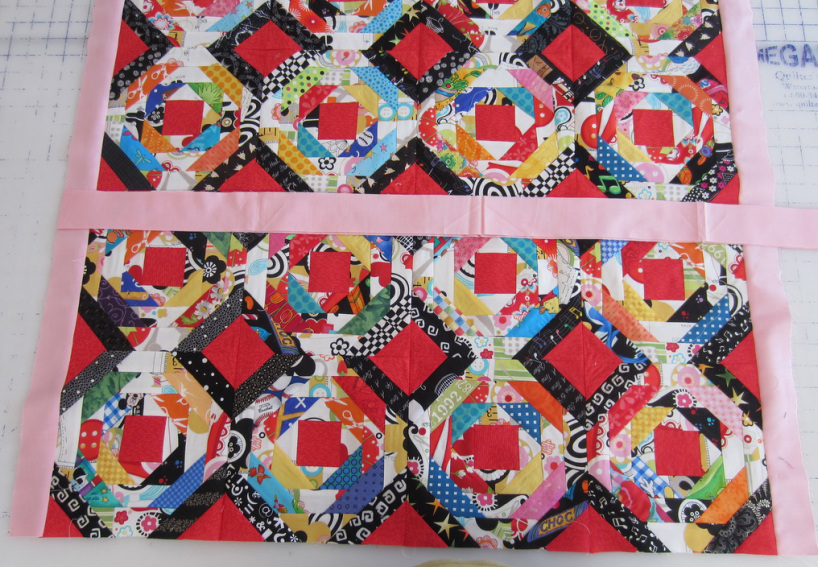
Use your top to measure borders.
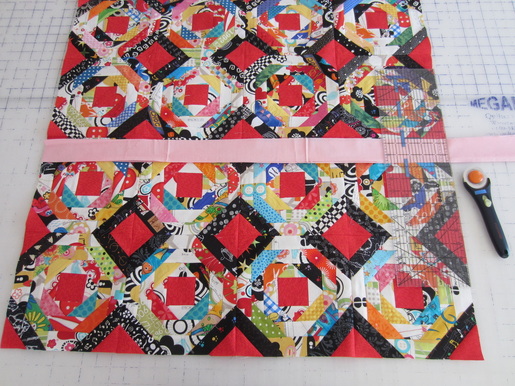
Take the first set of borders and lay one on top of the other. Cut one end so that they are lined up perfectly. I then put the two borders on top of my quilt top, through the center, and line them up with one edge of the quilt.
I then cut both borders at the same time to exactly match the width of my quilt top. (The reason I lay the borders through the center is that it is a truer measurement as many quilts tend to get stretched out on the edges.) Once I have one set of borders cut to fit, I sew each on after pinning at both ends and the center (use more pins if it’s a larger quilt).
I then cut both borders at the same time to exactly match the width of my quilt top. (The reason I lay the borders through the center is that it is a truer measurement as many quilts tend to get stretched out on the edges.) Once I have one set of borders cut to fit, I sew each on after pinning at both ends and the center (use more pins if it’s a larger quilt).
Ease in and make it fit
If the quilt top seems larger than your border, sew with the quilt top on the bottom next to the feed dogs. (Remember: baggy on the bottom). Your machine will naturally take up the slack. Ease the borders in and make them fit, then press them flat.
Follow the same process now with the last 2 borders. Cut, pin and ease in to make them fit.
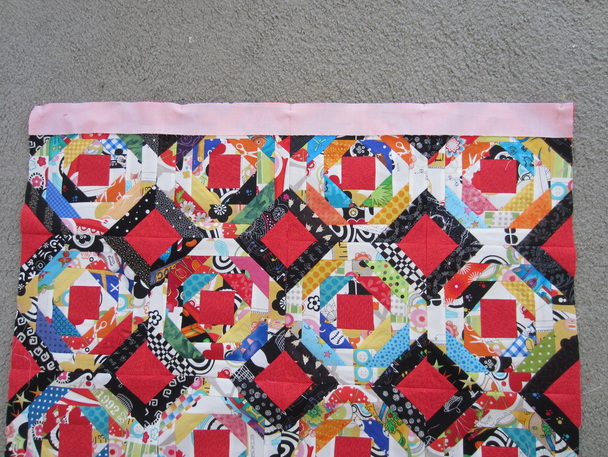
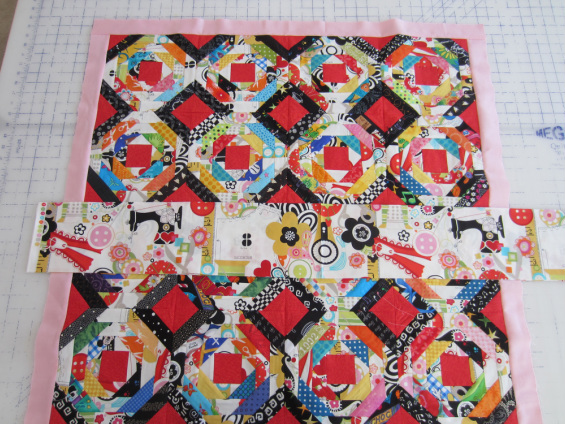
Add additional borders
If you have more than one border (as on my quilt here), you will need to go through the same steps for each border you attach.
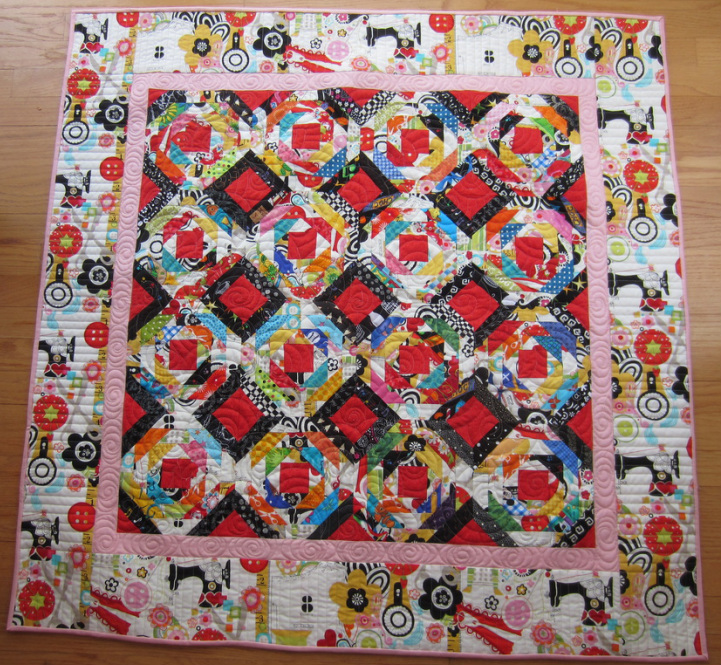
Finished top with flat borders!
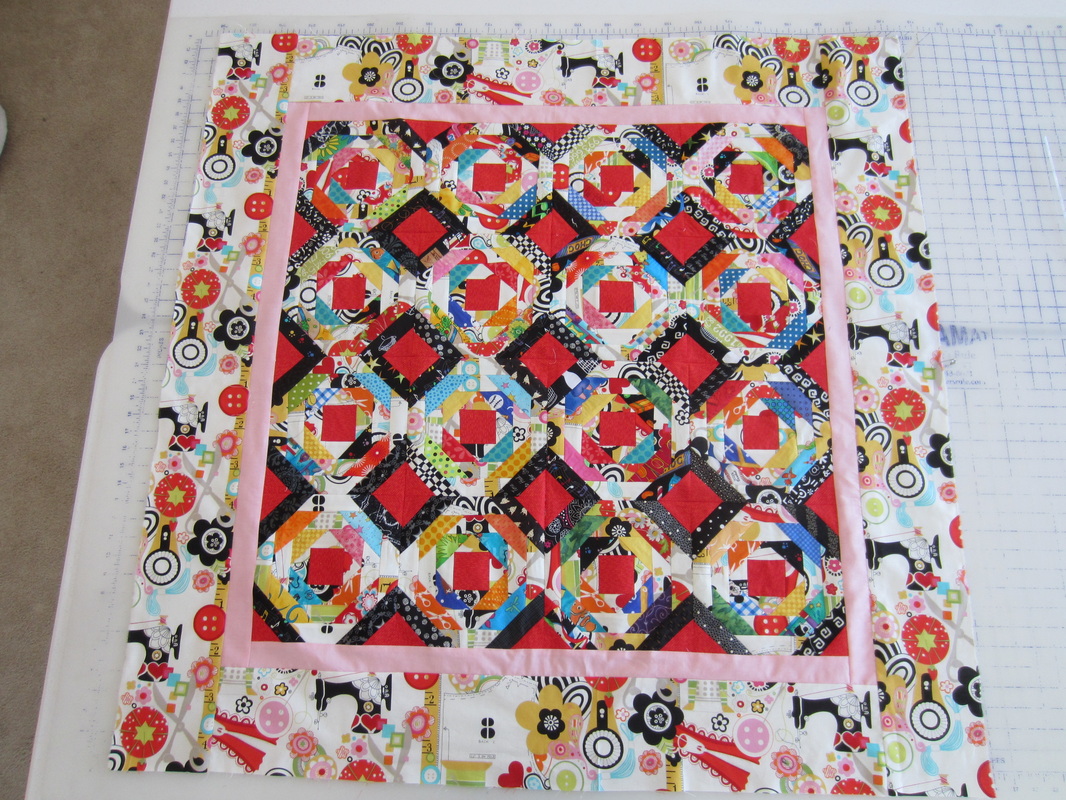
With this method, not only will your borders fit and lie flat, it will also help square up the top if it got a little wonky when piecing the blocks.
I hope you found this method for attaching borders helpful. If you have any questions, you are always welcome to email me at [email protected] .
I hope you found this method for attaching borders helpful. If you have any questions, you are always welcome to email me at [email protected] .
Quilted, bound and finished!